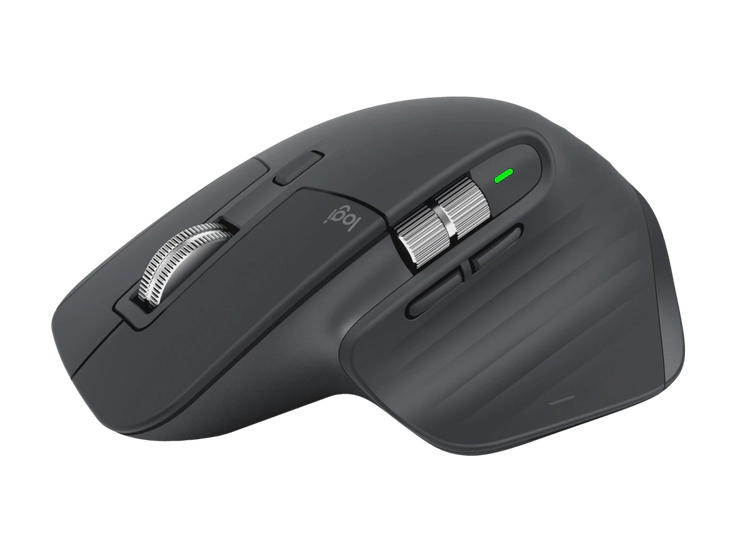
Fixing my Mx Master 3S mouse

The Logitech MX Master 3S is an exceptional mouse, renowned for its ergonomic design and advanced features. However, after using it for about 15 months, I encountered an issue with the left button. The click wasn’t registering unless I applied significant force, which was frustrating and hindered productivity.
Although the mouse comes with a one-year warranty, mine had expired three months prior to the issue. As an engineer, I decided to take matters into my own hands and repair it myself. This blog post details my experience and provides a step-by-step guide to fixing the button click issue on the Logitech MX Master 3S.
Sourcing the Replacement Parts
The Logitech MX Master 3S uses a switch manufactured by Panasonic. Replacing this switch is a relatively simple process, and there are two options to consider:
- EVQ-P0E07K
This is the switch I chose. It has a more clicky feel compared to the original switch, which I found quite satisfying. The cost was minimal, about 34 cents here in Germany.
- EVQ-P0D07K
While I haven’t personally tested this switch, it could offer a quieter click, similar to the original one.
These switches can be purchased from various electronic component retailers.
I recommend getting samples of both switches and choosing the one that suits your preference.
Replacing the Faulty Switch
Disassembly
To disassemble the mouse, I found this YouTube video extremely helpful. It provides clear instructions and visuals to guide you through the process.
Tools Required:
- Screwdriver bits: PH00 and T5
 Remove the black strips as shown above. It will expose the screws and you can easily remove them with the screw driver (PH00 and T5).
Replacement Process

- Desolder the Old Button: Carefully desolder the faulty switch from the circuit board. Make sure to handle the components gently to avoid any damage.
- Install the New Button: Solder the new switch in place of the old one. Ensure the solder joints are clean and secure.
- Test the Setup: Before reassembling the mouse, test the new switch to ensure it functions correctly. Once confirmed, close the enclosure and enjoy your fully functional mouse.
Conclusion
With these steps, your Logitech MX Master 3S should be back in top working condition. While this issue can be frustrating, the repair is straightforward and cost-effective. Taking the DIY route not only saved me the hassle of finding a replacement mouse but also provided a satisfying experience of fixing the device myself.
If you’re facing a similar issue, I hope this guide helps you restore your mouse to its former glory. Happy fixing!
